30+ YEARS IN BUSINESS
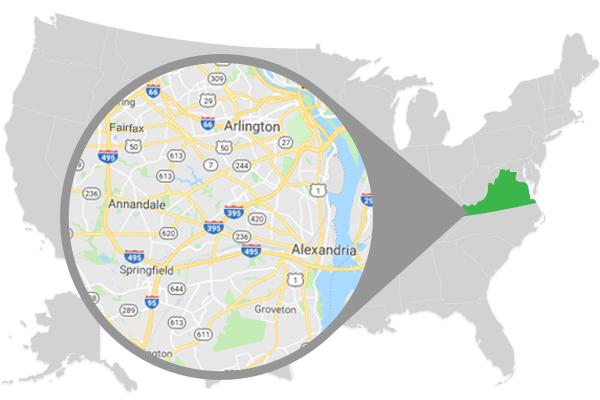
WE SERVE ALL OF NORTHERN VIRGINIA
ALL WORK GUARANTEED

Animal Control
Pest Control

Insulation
Crawl Spaces
Basement Waterproofing
Keep your home healthy, don’t wait until your home starts to deteriorate!
Limited time offer!
Limited to one per person. Appointments or reservations may be required and are subject to availability. Must show this offer before purchase. Cannot be combined with any other offers or discounts. No cash value or other redemption value. Other restrictions may apply. Call for details.
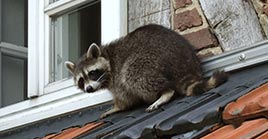
Summit handles wildlife removal when their behavior becomes too destructive, dangerous, or they chew and gnaw their way into your home. We employ advanced technology and the most effective techniques to safely and humanely relocate animals.
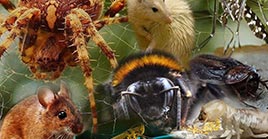
Pests are nuisance animals or insects and are not everyone’s favorite houseguest. They may bite, destroy food crops, damage property, carry disease or otherwise make our lives more difficult. Summit is your local expert for safely elliminating them from your home!
On a very hot day, a roof exposed to the sun without insulation will start to absorb heat from outside the home. The roof will become hotter and hotter and will start to emit this heat inside the home, which will result in a much warmer, uncomfortable environment within the home.
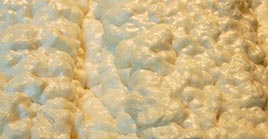
Cold floors or rooms that just don’t get warm? Proper insulation is essential for a home’s energy efficiency and comfort. If you have high heating and cooling costs or uncomfortable rooms in your home, an insulation upgrade from Summit could be the solution you need!
Summit Environmental Solutions, (SES), is a family owned and operated business and your local expert for Wildlife Control, Pest Control and Insulation Services, covering all of Northern Virginia!


Fairfax, Alexandria & Arlington, VA

Summit Environmental Solutions
Phone: 703-520-5868
5 Le Way, Suite 125 Fredericksburg, VA 22406 Licensed, Bonded and Insured.
* restrictions may apply
* restrictions may apply
Copyright © 2024 Summit Environmental Solutions | All rights reserved.